In this easy guide, we will provide you with step-by-step instructions on how to give your furry friend a DIY dog pawdicure at home. Not only will you save money on professional grooming services, but you’ll also have the opportunity to bond with your pet while ensuring their paws are well cared for.
As a pet owner, it’s essential to prioritize dog nail trimming and paw care. Regularly trimming your dog’s nails not only prevents discomfort and potential injuries but also promotes overall paw health. With the right tools and techniques, you can easily achieve a pawdicure that your furry friend will love.
Step 1: Getting Your Dog Ready
Before starting the DIY dog pawdicure, it’s important to make sure your dog is comfortable with you touching their paws. Spend some time playing with their paws, massaging them, and gradually getting them used to the sensation. This will help build trust and ensure that your dog is relaxed during the pawdicure process. It’s also a good opportunity to check for any signs of paw issues or injuries that may require additional care.
Building trust with your dog is essential for a successful pawdicure. Take it slow, allowing your furry friend to become familiar and comfortable with the handling of their paws. This step will not only make the pawdicure easier but also strengthen the bond between you and your pet.
If your dog is resistant or anxious about paw handling, try incorporating positive reinforcement techniques to create a positive association. Offering treats or praise during and after paw interactions can help alleviate any fears or anxieties.
Step 2: Nail Trimming
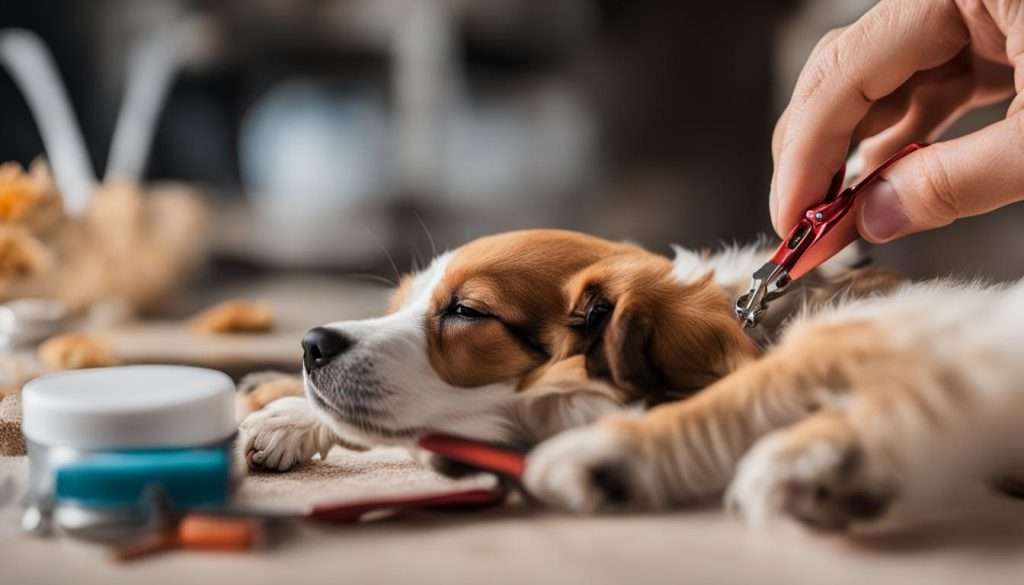
Nail trimming is a crucial part of the DIY dog pawdicure. Proper nail care not only keeps your dog’s paws healthy but also prevents discomfort and potential injuries. Follow these tips to trim your dog’s nails safely and effectively:
- Choose pet nail clippers that are specifically designed for dogs. These clippers have a unique cutting angle and safety guards to avoid cutting too much of the nail.
- Ensure your dog is relaxed and comfortable before starting the nail trimming process. Provide treats or toys to distract and reward them for good behavior.
- Gently hold your dog’s paw and locate the quick, which is the pink area inside the nail. Be cautious not to trim too close to the quick as it can cause bleeding and pain. If your dog has dark nails and it’s difficult to see the quick, trim a little bit at a time to avoid any mishaps.
- Trim the nail at a slight angle, starting from the bottom of the nail and working towards the tip. This helps prevent splintering or cracking.
- If your dog has long and jagged nails, you can use a nail file to gently smooth out the edges after trimming. This will prevent any sharp points that can cause discomfort or damage.

Nail trimming may require some practice, especially if your dog is not accustomed to it. Take your time, be patient, and reward your dog with praise and treats for their cooperation. If you’re unsure about nail trimming or your dog becomes overly anxious, consult a professional groomer for assistance. Ensuring your dog’s nails are properly trimmed is essential for their overall paw health and comfort.
Step 3: Choosing the Right Nail Polish
If you want to take your DIY dog pawdicure to the next level, consider adding some color to your dog’s nails. Choosing the right nail polish is crucial to create a stylish and vibrant look. Here’s a guide to help you select the perfect nail polish for your furry friend.
Nail Polish Options
When it comes to dog nail polish, it’s essential to prioritize pet-safe options. Look for nail polishes specifically designed for dogs, as they are formulated with non-toxic ingredients that won’t harm your pet. Alternatively, if your dog is comfortable with it, you can also opt for human nail polish.
Pet-Safe Nail Polish Colors
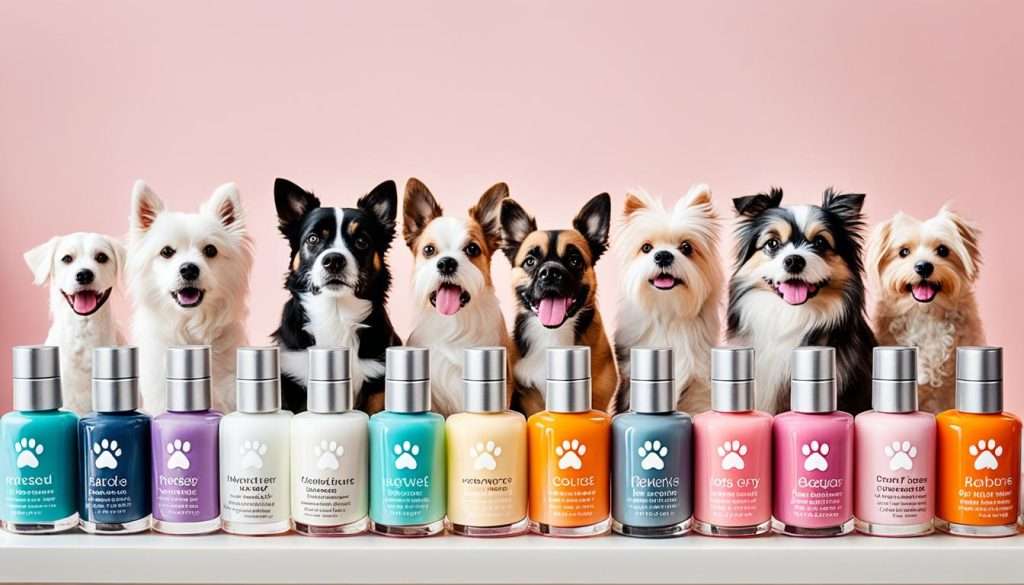
There’s a wide range of nail polish colors available for your furry companion. Opt for bright and vibrant shades that will show up well on your dog’s nails. Reds, pinks, teals, and greens are excellent choices that can add a pop of color to your dog’s paws. It’s important to consider your dog’s coat color when selecting the nail polish color to create a harmonious and stylish look.
Application Process
Once you’ve selected the perfect nail polish color, it’s time to apply it to your dog’s nails. Start by gently holding your dog’s paw and applying two coats of color, allowing each coat to dry before applying the next one. This will ensure a vibrant and long-lasting finish. Finish off the pawdicure with a clear top coat to provide added protection to the colored polish and extend its wear.

Tips for a Paw-tastic Nail Polish Application
- Choose a quiet and comfortable area to apply the nail polish, ensuring your dog is relaxed and cooperative.
- Use positive reinforcement and rewards to make the experience enjoyable for your pet.
- Take breaks if needed to prevent your dog from becoming restless or agitated.
- Be patient and gentle when applying the nail polish, ensuring you don’t accidentally touch your dog’s sensitive skin.
- If your dog shows any signs of discomfort or unease, stop the application and try again another time.
Popular Nail Polish Colors for Dogs
| Color | Description |
|---|---|
| Red | A bold and classic color that adds a touch of glamour to your dog’s nails. |
| Pink | A sweet and feminine color that suits dogs of all sizes and breeds. |
| Teal | A trendy and vibrant color that gives your dog’s paws a unique and eye-catching look. |
| Green | A fun and lively color that adds a playful touch to your dog’s overall appearance. |
Step 4: Additional Paw Care
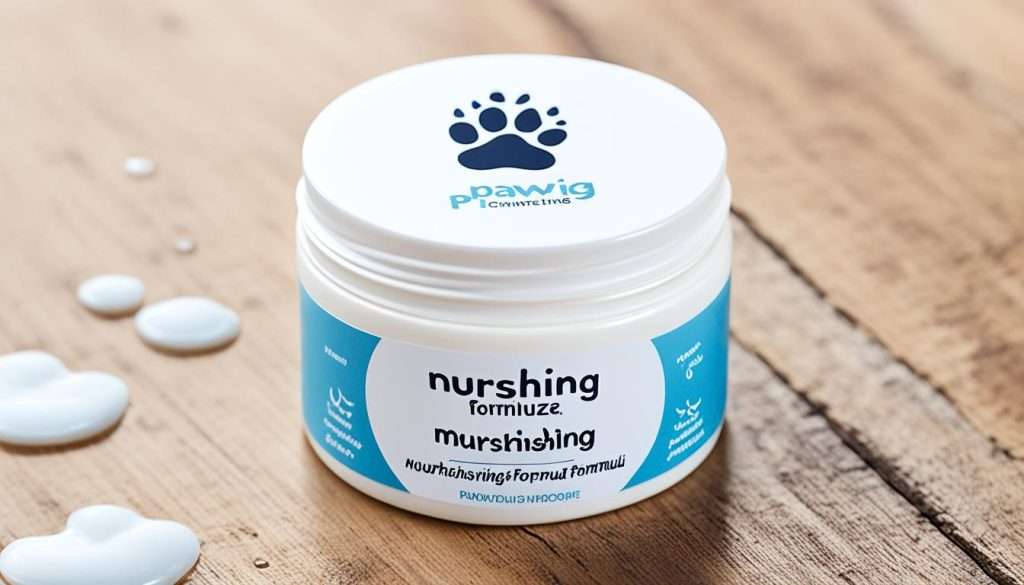
After the nail trimming and nail polish application, it’s essential to give your dog’s paws some extra care. Apply a dog-specific paw moisturizer or balm to keep their paw pads moisturized and protect them from cracking or drying out. This step is especially important during hot weather or if your dog frequently walks on rough surfaces. Regular paw care will keep your dog’s paws healthy and comfortable.

Essential Tools for DIY Dog Pawdicure
When it comes to giving your furry friend a DIY dog pawdicure at home, having the right tools is essential. Investing in high-quality pet grooming tools will not only make the process easier but also ensure the safety and comfort of your pet. Here are the essential tools you’ll need:
- Nail Clippers with Safety Guards: Choose nail clippers specifically designed for pets, preferably with safety guards that prevent over-cutting and minimize the risk of injury.
- Nail File: A nail file is useful for gently smoothing any jagged edges after trimming your dog’s nails, ensuring a comfortable pawdicure experience.
- Paw Moisturizer or Balm: To keep your dog’s paw pads moisturized and protected, invest in a pet-safe paw moisturizer or balm. This will help prevent dryness, cracking, and discomfort.
- Cotton Gauze: In case of any minor bleeding during nail trimming, it’s handy to have cotton gauze on hand to apply gentle pressure and stop the bleeding.
These pet grooming tools are readily available in pet stores or online. By having these essential tools, you’ll be well-equipped to provide your dog with a successful DIY dog pawdicure.
Tips from the Pros:
“Investing in high-quality pet grooming tools is crucial for a DIY dog pawdicure. It ensures a safe and comfortable experience for both you and your furry friend.” – Kelly Thompson, Professional Dog Groomer
Tips for a Stress-Free Pawdicure
Giving your dog a pawdicure at home should be a positive and stress-free experience. Here are a few tips to help make the process go smoothly:
- First, create a calm environment by choosing a quiet location and providing treats or toys to keep your dog occupied.
- Use gentle and slow movements when handling your dog’s paws, and take breaks if needed.
- Additionally, use positive reinforcement, such as praise and treats, to reward your dog for good behavior during the pawdicure.
By following these tips, you can ensure that your dog feels comfortable and relaxed during the pawdicure process, making it a stress-free experience for both of you.
| Tip | Description |
|---|---|
| 1 | Create a calm environment |
| 2 | Use gentle and slow movements |
| 3 | Utilize positive reinforcement |
Professional Pawdicure Alternatives
While DIY dog pawdicures can be a great way to bond with your pet and save money, they may not be suitable for every pet owner. If you’re not comfortable or confident in trimming your dog’s nails at home, consider seeking professional grooming services. Professional groomers have the experience and knowledge to handle the process safely and efficiently. You can also opt for mobile groomers who can come to your home and provide grooming services in a convenient and stress-free environment.
Conclusion
In conclusion, DIY dog pawdicures at home offer numerous benefits for pet owners. By following our step-by-step guide, you can confidently perform nail trims and ensure your dog’s paws receive proper care. Not only does this save you money on professional grooming services, but it also allows you to bond with your pet and take control of their grooming routine, empowering you as a pet owner.
Remember to utilize pet-safe products throughout the process to protect your dog’s health. Additionally, creating a calm and comfortable environment for both you and your furry friend is crucial for a successful pawdicure experience. With practice and patience, you’ll soon master the art of giving your dog a DIY pawdicure at home, ensuring their nails and paws are well-maintained.
Embrace the opportunity to pamper your dog and enjoy the rewarding feeling of seeing their well-groomed paws. By taking charge of your dog’s grooming needs, you not only save time and money but also strengthen the bond between you and your beloved pet.
FAQ
Why should I give my dog a DIY pawdicure at home?
Giving your dog a DIY pawdicure at home is not only a cost-effective option but also allows you to bond with your pet and ensure their paws are well cared for.
How can I prepare my dog for a DIY pawdicure?
Before starting the DIY pawdicure, spend time playing with your dog’s paws, massaging them, and gradually getting them used to the sensation. This helps build trust and ensures your dog is relaxed during the process.
How do I trim my dog’s nails during a DIY pawdicure?
Use pet nail clippers to cut your dog’s nails, being careful not to cut too far and hit the quick. If your dog has dark nails, take extra caution. You can also use a nail file to gently sand any jagged edges after trimming.
Can I use nail polish on my dog’s nails?
Yes, you can use pet-safe nail polish in bright colors on your dog’s nails. Make sure to choose nail polish specifically designed for dogs or opt for human nail polish if your dog is comfortable with it.
How can I provide additional care for my dog’s paws?
After nail trimming and polish application, apply a dog-specific paw moisturizer or balm to keep your dog’s paw pads moisturized and protected from cracking or drying out.
What tools do I need for a DIY pawdicure?
You’ll need high-quality pet grooming tools, including nail clippers with safety guards, a nail file, paw moisturizer or balm, and cotton gauze for any minor bleeding.
How can I make the DIY pawdicure process stress-free?
Create a calm environment, use gentle movements when handling your dog’s paws, and provide treats or toys to keep them occupied. Additionally, use positive reinforcement, such as praise and treats, to reward your dog for good behavior during the pawdicure.
Are there professional alternatives for pawdicures?
If you’re not comfortable or confident in trimming your dog’s nails at home, consider seeking professional grooming services. You can also opt for mobile groomers who can provide grooming services in a convenient and stress-free environment.
What are the benefits of giving my dog a DIY pawdicure at home?
DIY pawdicures can save you money, bond with your pet, and ensure your dog’s nails and paws are well cared for. It also gives you the opportunity to monitor their paw health and comfort.